Detailing Guide
How to Remove Small Scratches From Your Car's Paint
📅 May 2026
⏱ 6 min read
✍️ Rev.Therapy
A scratch on your car feels like a punch to the gut. Whether it's a rogue shopping trolley, a careless door, or a bush that got too close — small paint scratches are one of the most common and most fixable problems any car owner faces. Before you call a body shop and spend hundreds, read this. Most light scratches can be removed at home in under an hour.
First — Know What Type of Scratch You're Dealing With
Not all scratches are equal. The fix depends entirely on how deep the damage goes. Run your fingernail lightly across the scratch — this tells you everything you need to know.
Clear Coat Scratch
DIY Fixable
Your fingernail doesn't catch. The scratch is only in the clear coat layer — the transparent protective layer over your paint. This is the most common type and the easiest to fix at home.
Paint Layer Scratch
Sometimes Fixable
Your fingernail catches slightly. The scratch has gone through the clear coat and into the colour layer. Can sometimes be improved with compound, but may need touch-up paint.
Primer Scratch
Body Shop Job
You can clearly see grey or white primer underneath. The scratch is deep. No DIY product will fix this properly — you need professional paint correction.
Swirl Marks
DIY Fixable
Fine circular scratches that appear in sunlight, usually caused by poor washing technique or automatic car washes. These respond extremely well to polishing compound.
If your fingernail doesn't catch in the scratch, you can almost certainly fix it yourself at home in under an hour with the right product.
What You'll Need
You don't need a lot. Here's the complete list for a proper DIY scratch removal job:
- Car wash soap and clean water
- Microfibre cloths — at least 2 clean ones
- Scratch removal compound or polish
- Applicator pad or foam pad
- Masking tape (optional, for precision)
The product you use matters more than anything else. After testing multiple options, one stands out as the best for home use at this price point:
✨
Meguiar's Scratch-X
The go-to scratch remover for light to moderate clear coat damage. Infused with polishing compound and wax — it removes the scratch and protects the paint in one step. Works on all paint colours. No machine needed.
★★★★★ 4.2 · 11,000+ reviews on Amazon
View on Amazon →
Step by Step — How to Remove the Scratch
01
Clean The Area Thoroughly
Wash the scratched area with soap and water and dry it completely with a clean microfibre cloth. Any dirt or grit left on the surface will cause more scratches when you apply the compound. This step is not optional — skip it and you'll make things worse.
02
Apply The Compound
Put a small amount of Meguiar's Scratch-X — about the size of a 10 cent coin — onto your applicator pad or a folded microfibre cloth. Less is more. You can always add more but removing excess compound from crevices is annoying.
03
Work The Compound In
Using firm, straight back-and-forth strokes — not circular — work the compound into the scratch. Apply moderate pressure. Do 10-15 strokes across the scratch area. The compound is mildly abrasive and works by levelling the clear coat around the scratch until it disappears. You'll see the compound go slightly hazy as it works — this is normal.
04
Wipe Off and Inspect
Using a clean dry microfibre cloth, wipe away all the compound residue. Then step back and look at the scratch in direct light or sunlight. Has it improved? If the scratch is still visible, repeat steps 2-4 up to 3 times. Most light scratches disappear completely in 1-2 rounds.
05
Protect The Paint
Once satisfied with the result, apply a coat of car wax or paint sealant over the treated area. This seals and protects the newly polished clear coat and keeps it looking good for longer. Meguiar's Scratch-X includes some wax protection in the formula but a dedicated wax layer is always better.
Work in the shade or indoors — never apply compound in direct sunlight. Heat causes it to dry too quickly and makes it much harder to remove, which can leave residue in panel seams and trim.
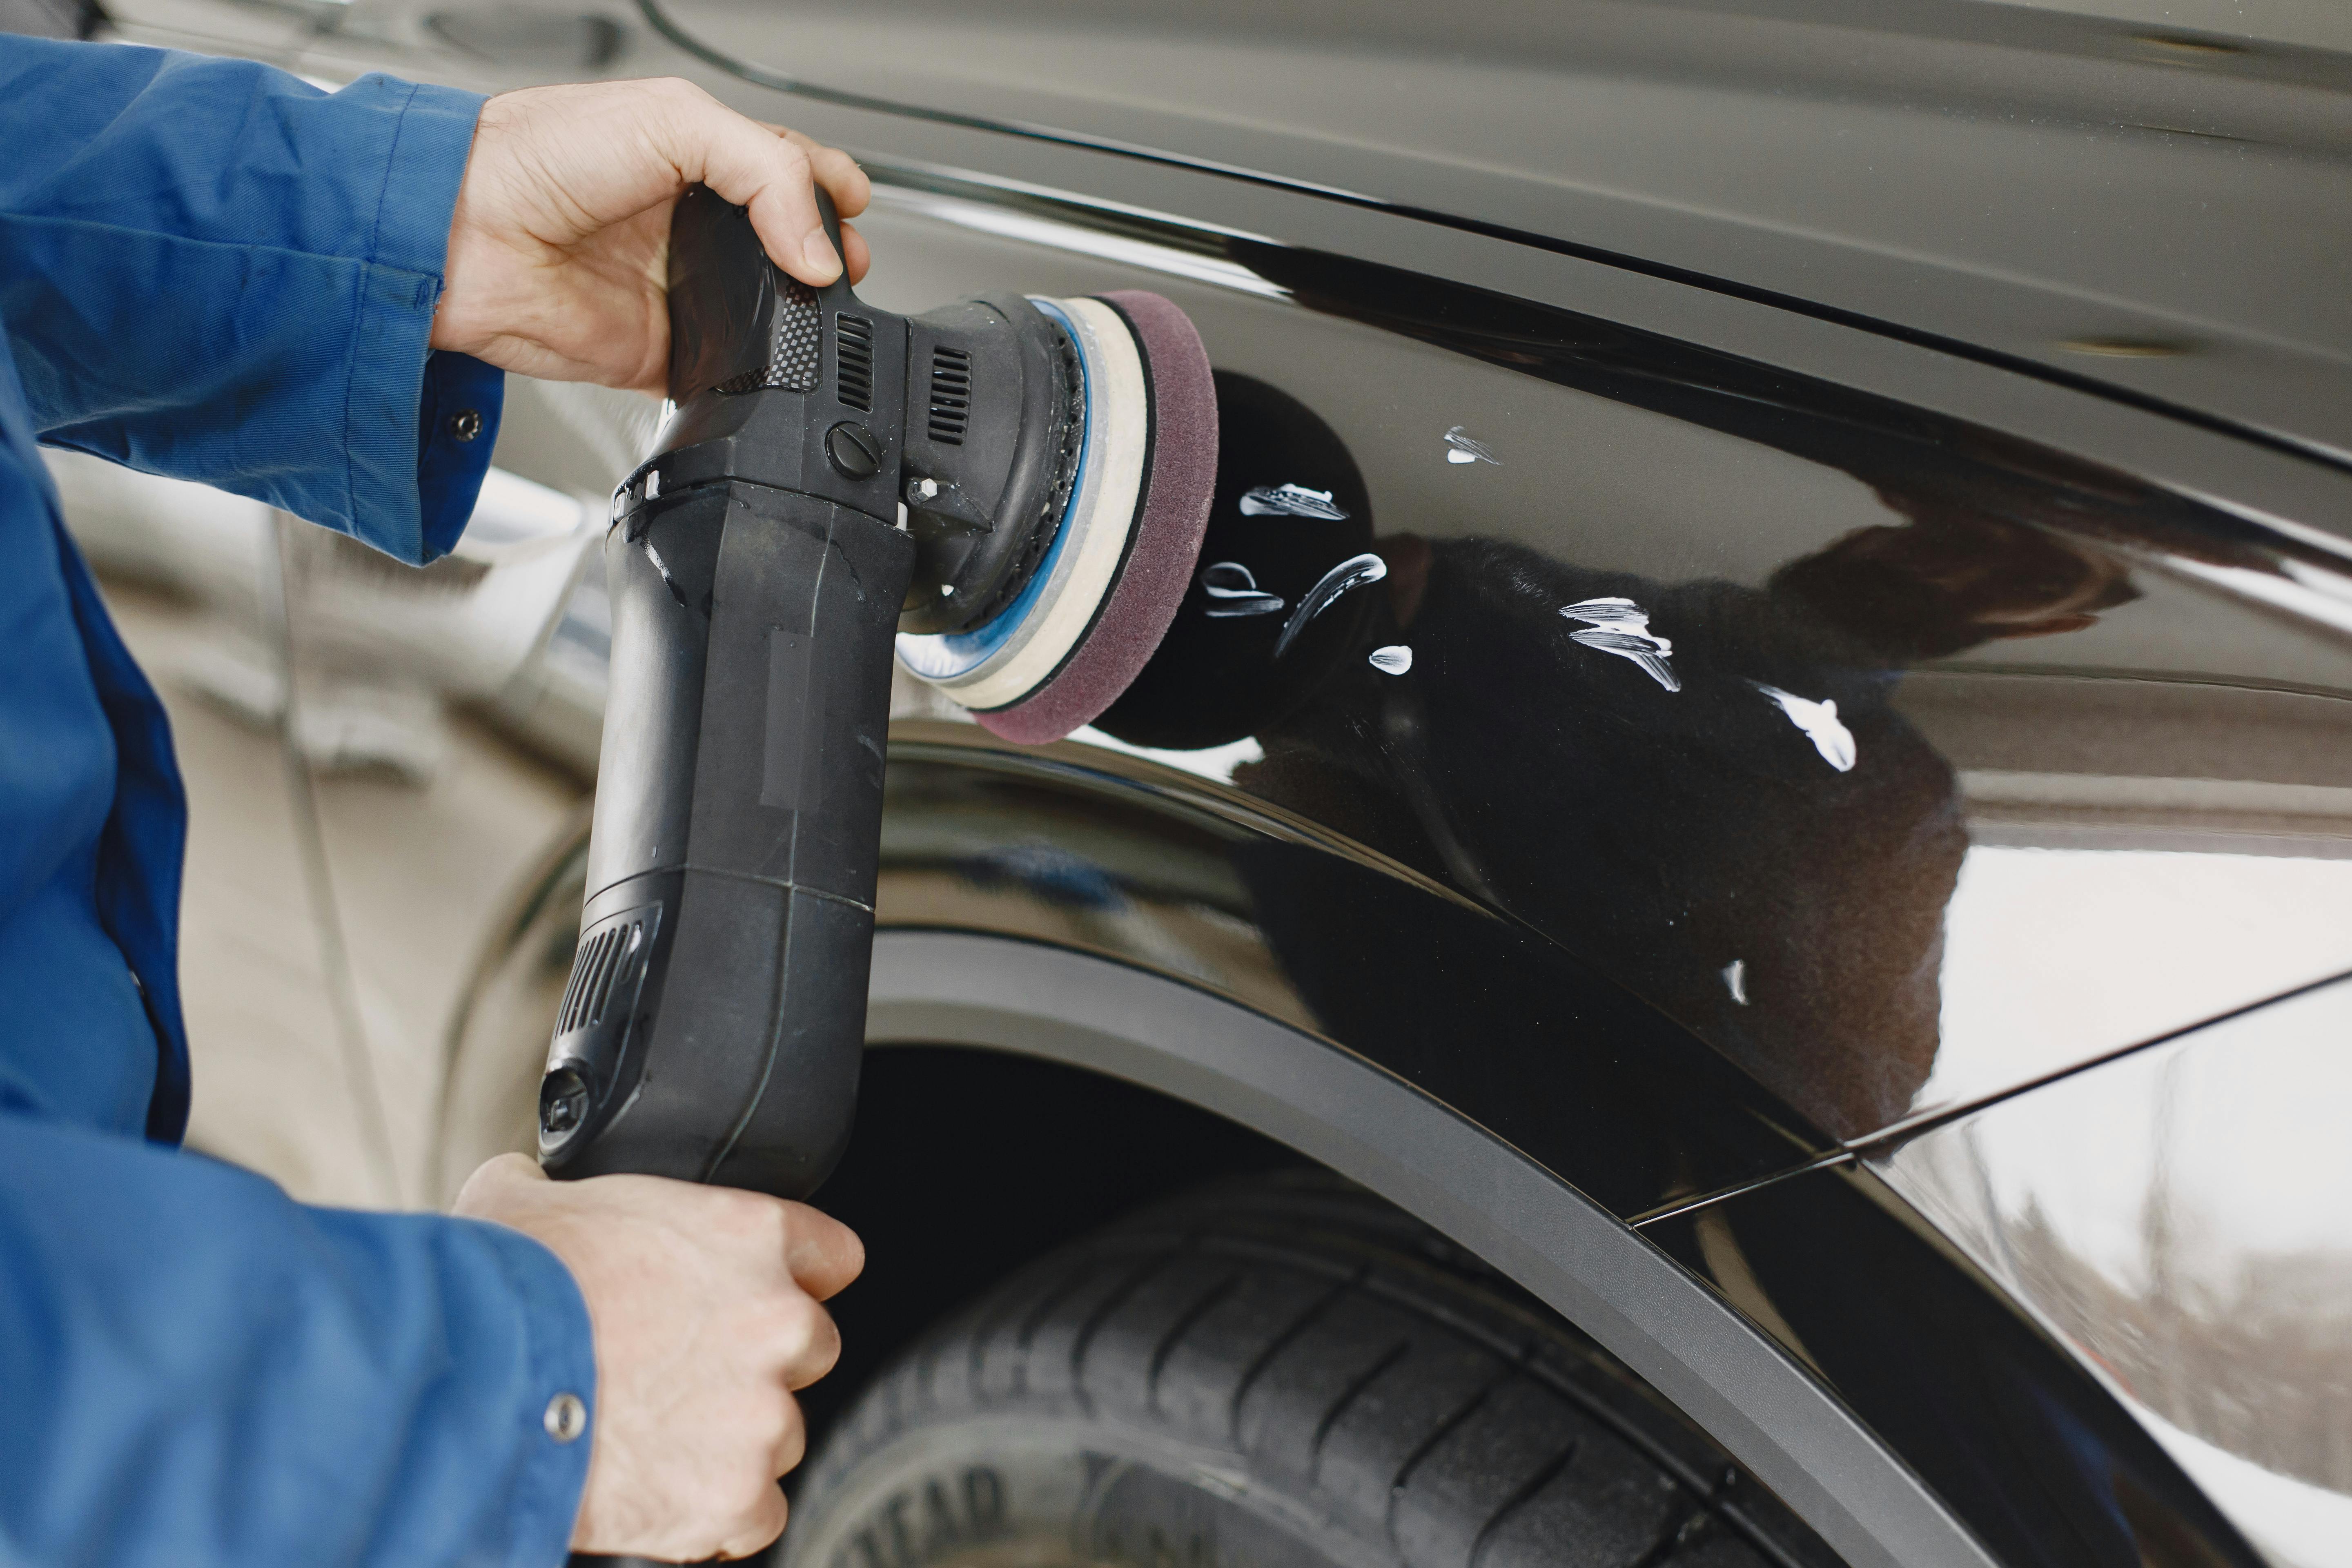
For Swirl Marks — A Slightly Different Approach
Swirl marks respond best to a machine polisher, but if you don't have one the same hand technique works — just work in a slightly larger area rather than focusing on one specific line. Use light pressure and longer strokes across the affected panel. The goal is to blend and level the entire surface rather than targeting individual marks.
Never use household products like toothpaste, WD-40 or nail polish remover on car paint. These are popular internet "hacks" that can strip your clear coat, cause oxidation or permanently dull the finish. Always use purpose-made automotive products.
When to Stop and See a Professional
DIY scratch removal has limits. Stop and call a body shop if:
- You can see grey or white primer through the scratch
- The scratch is longer than 15-20cm and cuts through to paint
- There is chipping or flaking paint around the scratch
- After 3 rounds of compound the scratch has not improved at all
- The area around the scratch starts to look dull or hazy after polishing
Knowing when to stop is as important as knowing how to start. Overworking a scratch with compound on dark paint can thin the clear coat and create a more expensive problem than the original scratch.
✨
Meguiar's Scratch-X
Best all-in-one scratch remover for home use. Removes light scratches, swirl marks and blemishes — no machine needed. Trusted by over 18,000 Amazon reviewers.
★★★★★ 4.2 · 11,000+ reviews
View on Amazon →
The Bottom Line
Most small scratches that don't catch your fingernail can be removed completely at home in 30-45 minutes with the right compound and a bit of patience. The key is working clean, using straight strokes and not rushing the process. A body shop will charge anywhere from €150-€500 for the same result you can achieve for under €20.
Check the scratch with your fingernail first. If it doesn't catch — you can fix it yourself. Simple as that.
* This article contains affiliate links. If you click and buy, I may earn a small commission at no extra cost to you. I only recommend products I genuinely believe in.